
I have come across numerous aspiring artists and enthusiasts who are eager to learn the art of tattooing. One of the fundamental steps in the tattooing process is applying a tattoo stencil correctly. A well-executed stencil sets the foundation for a successful tattoo, ensuring accuracy and precision. In this guide, I will share my insights and techniques on how to apply a tattoo stencil effectively, using my years of expertise in the field.
What Is a Tattoo Stencil?
As the art of tattooing has evolved over the years, so has the importance of a tattoo stencil in the process. A tattoo stencil serves as a vital blueprint or guide for tattoo artists, providing a clear outline of the design that will eventually adorn someone’s skin. In this article, we will explore the concept of a tattoo stencil, its purpose, and why it is an indispensable tool for both tattoo artists and enthusiasts.
Defining a Tattoo Stencil
In simple terms, a tattoo stencil is a transferable design that is applied to the skin as a reference point for tattooing. It is a precise replica of the desired tattoo design that acts as a guide for the artist during the tattooing process. The stencil allows the artist to visualize the final placement, size, and proportions of the tattoo before the needle even touches the skin.
Why is Applying a Tattoo Stencil Important?
Before we delve into the process itself, let’s understand the significance of a tattoo stencil. A stencil serves as a blueprint or guide for the tattoo artist, allowing them to create a design that is proportionate and aligned with the client’s vision. By transferring the stencil onto the skin, artists can ensure that the design fits the contours of the body and that the final tattoo is visually appealing.
Step-by-Step Guide to Applying a Tattoo Stencil
To apply a tattoo stencil accurately, follow these steps:
1. Prepare the Skin
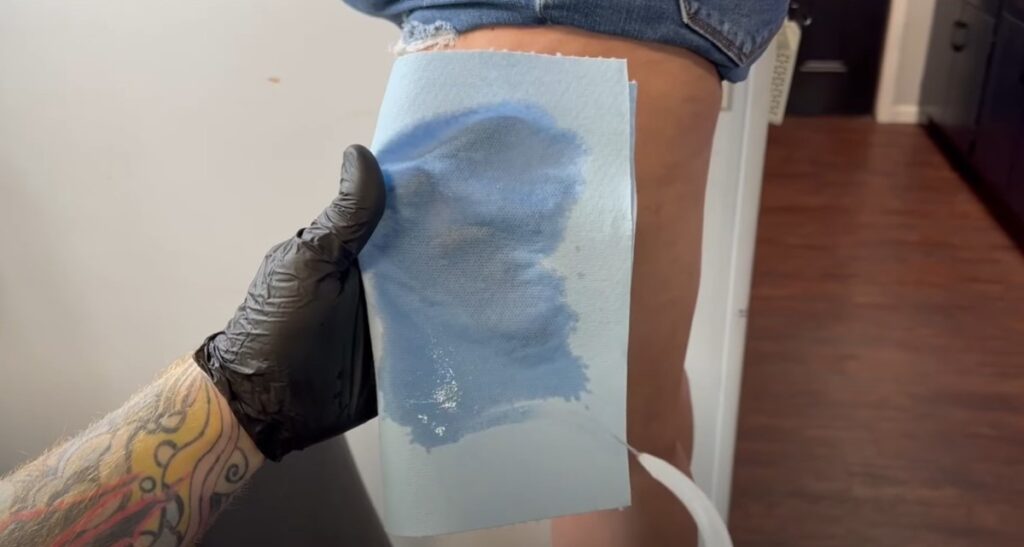
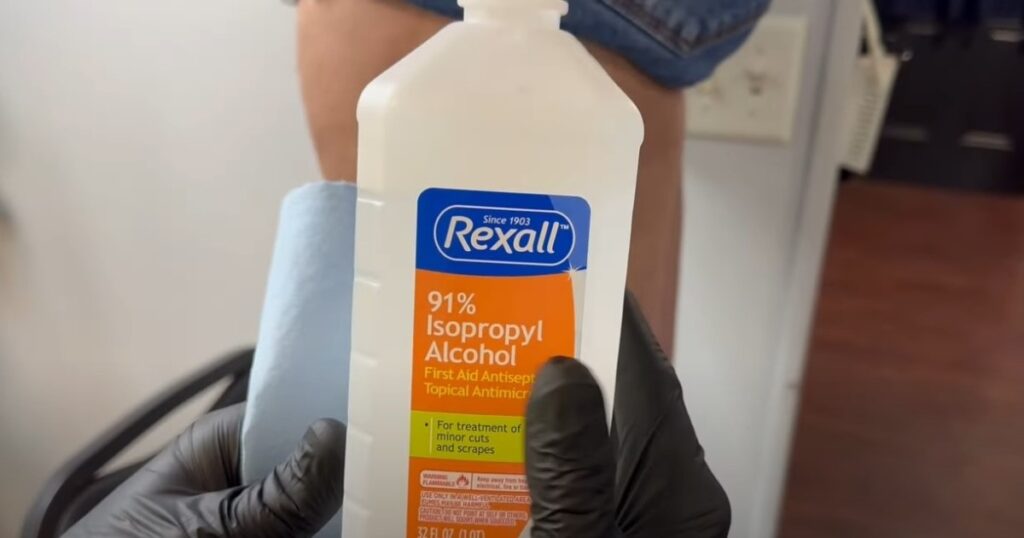
- Cleanse the skin: Thoroughly clean the area where the tattoo will be placed using an alcohol-based solution. This ensures a sterile surface for the stencil application.
- Shave the area: If necessary, shave the hair around the tattoo placement area. This ensures the stencil adheres smoothly to the skin, without any obstructions.
2. Choose the Right Stencil Paper

- Select quality stencil paper: Choose a high-quality stencil paper that provides excellent transferability and durability. Opt for papers specifically designed for tattoo stencils, as they tend to be more reliable.
3. Prepare the Stencil
- Trace the design: Place the stencil paper over the design and trace the outline using a clean, sharpened pencil. Ensure that you capture all the intricate details accurately.
- Cut out the stencil: Using a pair of sharp scissors, carefully cut out the traced design. Be precise and meticulous to avoid any distortions or errors in the stencil.
4. Apply the Stencil
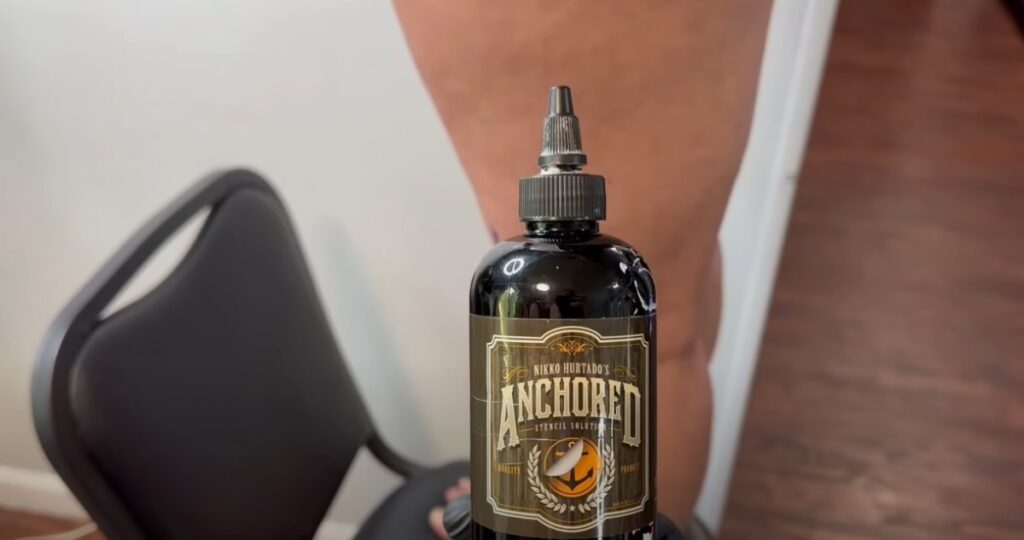
- Prepare the stencil transfer medium: Depending on your preference, prepare the stencil transfer medium of your choice, such as stencil transfer gel or spray. These mediums aid in the transfer of the stencil onto the skin.
- Apply the transfer medium: Using a sterile applicator, apply a thin and even layer of the transfer medium to the skin. Ensure you cover the entire area where the stencil will be placed.
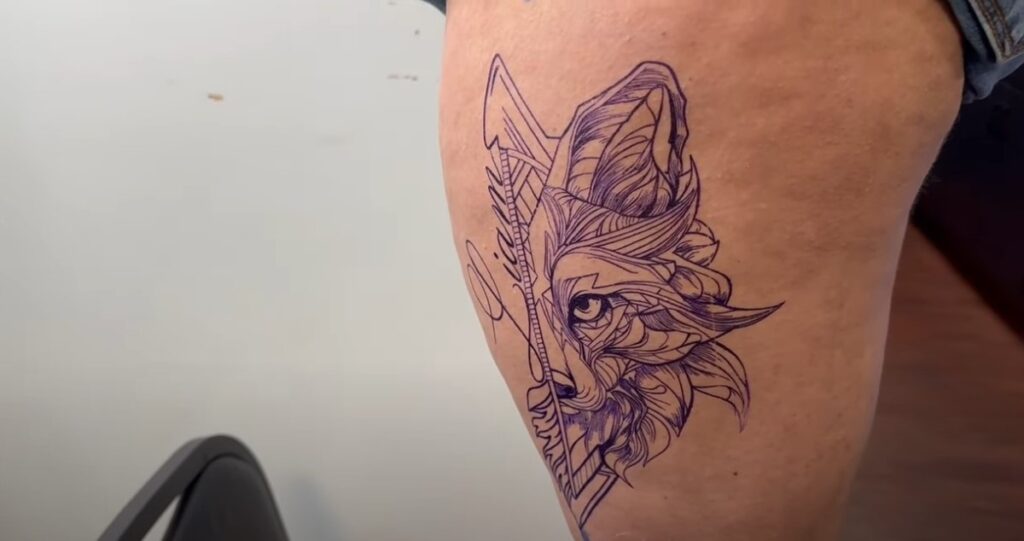
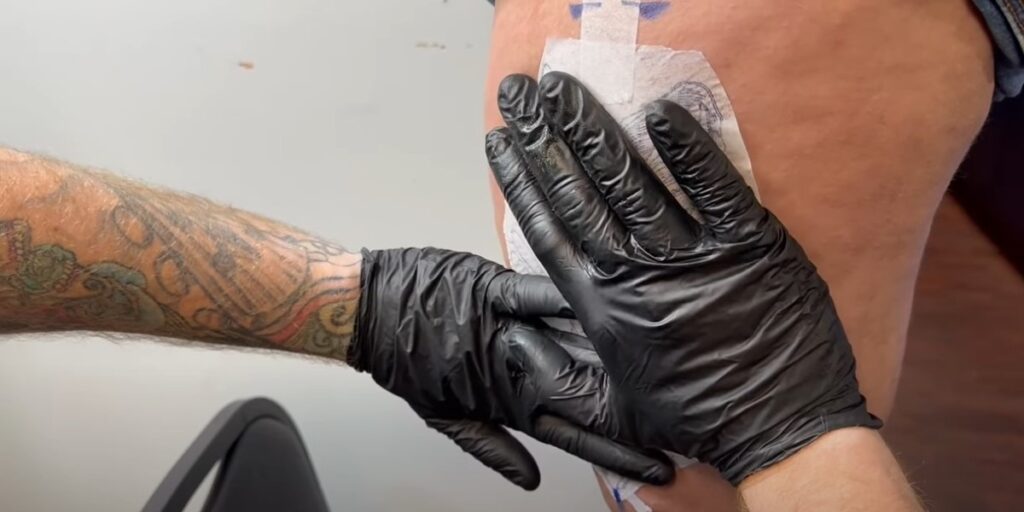
- Position the stencil: Gently place the stencil onto the prepared area, ensuring that it aligns with the desired placement. Carefully press it onto the skin, ensuring firm contact for proper transfer.

5. Transfer the Stencil
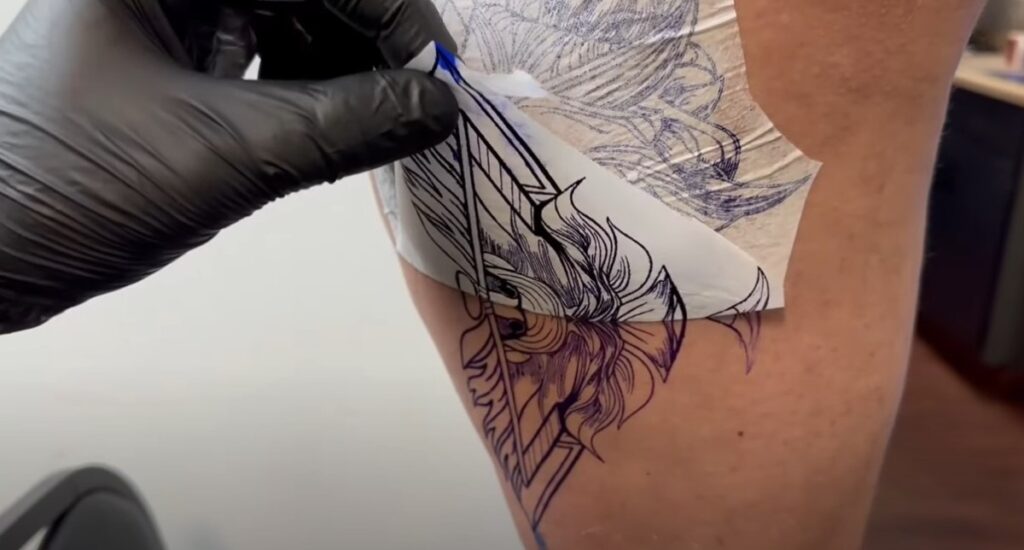
- Apply pressure: Using a clean, dry towel or sponge, firmly press the stencil onto the skin. Apply gentle pressure to ensure proper transfer of the design.
- Peel off the stencil: Slowly and carefully peel off the stencil, starting from one corner. Check if the design has transferred accurately onto the skin. If not, reapply the stencil and repeat the process.
Key Points to Remember
- Maintain cleanliness and sterility throughout the entire process to prevent any infections or complications.
- Be patient and attentive during the stencil application, ensuring proper alignment and proportion.
- Regularly assess the transferred stencil to avoid any distortions or inaccuracies before proceeding with the tattooing process.
By following these steps and paying attention to the finer details, you can master the art of applying a tattoo stencil effectively. Remember, practice makes perfect, and with time, you’ll refine your technique and develop your own personal style.
As a professional tattoo artist, I believe that a well-executed tattoo stencil is the cornerstone of a successful tattoo. It allows you to bring your client’s vision to life with precision and artistry. So, embrace the process, hone your skills, and create stunning tattoos that will stand the test of time.
FAQ
Transferring a tattoo stencil to your skin at home can be done using a few different methods. Here are two commonly used techniques:
Hand-Drawn Stencil: If you have artistic skills, you can create a stencil directly on stencil paper using a clean, sharpened pencil or pen. Trace the design onto the stencil paper, ensuring that all the details are accurately captured. Once you have completed the stencil, cut it out and apply it to the desired area of your skin.
Carbon Transfer Paper: Another option is to use carbon transfer paper, which is available at art supply stores. Place the carbon paper on the skin, followed by the stencil paper with the design facing down. Firmly trace over the design using a ballpoint pen or a stylus. This will transfer the carbon onto the skin, creating a stencil.
Remember, tattooing at home comes with risks, such as lack of proper sterilization and infection control. It is always recommended to seek professional tattooing services from a licensed tattoo artist to ensure safety and quality.
Using Vaseline to apply a tattoo stencil is not recommended. While Vaseline is a common moisturizer and has some lubricating properties, it is not designed for stencil application. Vaseline can make the stencil slide or smear, leading to distorted lines and a less precise transfer onto the skin.
It is best to use specialized stencil transfer products, such as stencil transfer gel or spray, which are specifically formulated for tattoo stencil application. These products provide better adhesion, ensuring a clean and accurate transfer of the stencil onto the skin.
Ensure the skin is clean and dry before applying the stencil.
Use a stencil transfer medium, such as stencil transfer gel or spray, to enhance the transferability of the stencil.
Apply a thin, even layer of the transfer medium to the skin. Be careful not to use too much, as excess moisture can cause the stencil to smear.
Position the stencil accurately on the skin, taking care to align it properly.
Gently press the stencil onto the skin, ensuring firm contact without excessive rubbing or sliding.
Once the stencil is applied, avoid touching or rubbing it unnecessarily to prevent smudging.
By following these steps and handling the stencil with care, you can minimize the risk of smearing and achieve a clean, precise stencil application.
While parchment paper may be suitable for various crafts and baking, it is not recommended for transferring tattoo stencils. Parchment paper lacks the necessary properties for an effective and reliable transfer.
For tattoo stencil transfers, it is best to use specialized stencil paper designed specifically for the tattooing process. Stencil paper provides better adhesion, clarity, and durability, ensuring that the design transfers accurately onto the skin.
Once the tattoo stencil is applied to the skin, it is generally left in place for a brief period to allow the design to fully transfer and adhere. The recommended duration for leaving the stencil paper on the skin is approximately 10 to 15 minutes.
During this time, it is essential to avoid excessive movement or rubbing that may cause the stencil to smudge or become distorted. Once the allotted time has passed, gently peel off the stencil paper, starting from one corner, to reveal the transferred design on the skin.
Summary:
By following the step-by-step techniques outlined in this guide and embracing the use of high-quality stencil papers and transfer mediums, you can enhance your tattooing skills and ensure that your designs are flawlessly translated onto the skin.
Remember, while this guide provides valuable insights, it is always recommended to seek professional tattooing services from licensed artists for the best results and to prioritize safety and hygiene.
With this knowledge, you are equipped to embark on your tattooing journey, armed with the understanding and techniques necessary to apply tattoo stencils effectively. Embrace the process, hone your skills, and create stunning tattoos that reflect your artistic vision. Happy tattooing!